bu-Backup - User guide
Index
-
Requirements
Linux: CentOS 6, 7, 8. AlmaLinux 8, 9. Debian 10-12. Ubuntu 20-24.
WHM/cPanel version 110.0.2 or later / DirectAdmin version 1.62 or later.
Default PHP version 5.6, 7.2-7.4, 8.1-8.4
SSH root access.
Remote storage server with SSH access.
Rsync installed on local and remote server.
SSHPASS installed on the local server. (Only to connect with username and password)
IonCube loader installed. -
Create user account
Complete the data at https://bu-backup.com.ar/create_account.php.
A verification email will be sent to your email address. Follow the steps indicated to activate your account.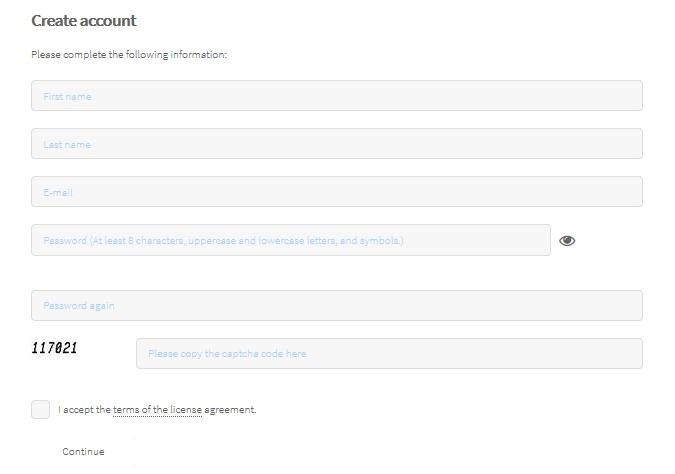
-
Create licenses
Login to your customer account.
-
Trial License
Select "License Trial" and click "Continue"
Click on "Manage Licenses" and add the IP address of the server where you will install. -
Buy license
Select the product and click "Continue"
Make the payment to activate the product.
Click on "Manage Licenses" and add the IP address of the server where you will install.
-
-
Installation
From the command line with the root user execute:
# cd /root && wget https://bu-backup.com.ar/bu-backup/download/bu-backup-install.sh -O bu-backup-install.sh && chmod 0700 bu-backup-install.sh && sh bu-backup-install.sh -
Uninstallation
From the command line with the root user execute:
# cd /root && wget https://bu-backup.com.ar/bu-backup/download/bu-backup-uninstall.sh -O bu-backup-uninstall.sh && chmod 0700 bu-backup-uninstall.sh && sh bu-backup-uninstall.sh -
Configuration
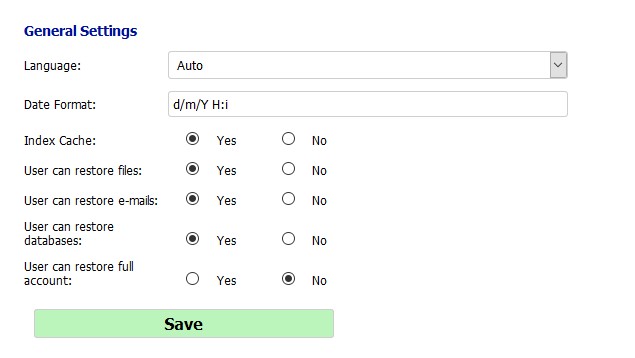
General Settings
Enter WHM >> Access Home >> Plugins >> bu-Backup. / Enter DirectAdmin >> Admin level >> Extra Features >> bu-Backup.
Select the option "General Settings"- Select the language or "Auto" to take the language from the user panel.
- You can configure the date and time format, according to:
https://www.php.net/manual/en/function.date.php. - Select if you want to use "Index Cache":
Index Cache creates an index of all the elements saved in the backups, considerably reducing the loading time of the elements in the restoration sections. - Select which items the end user can restore.
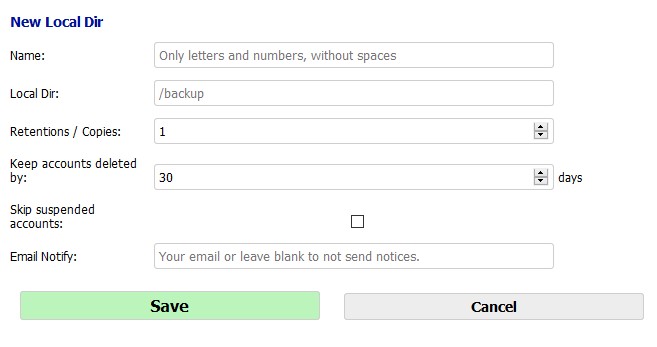
Local Storage
Access to "+ Local Dir"
- Enter an identifying name.
- Enter local directory path.
- Enter number of copies that will be retained in the backup.
- Enter Days that accounts will be kept on the remote server that have not been synchronized.
- Select if backups of suspended accounts will be made.
- Enter an optional email address to receive notifications about backups and restores.
- Save the configuration.
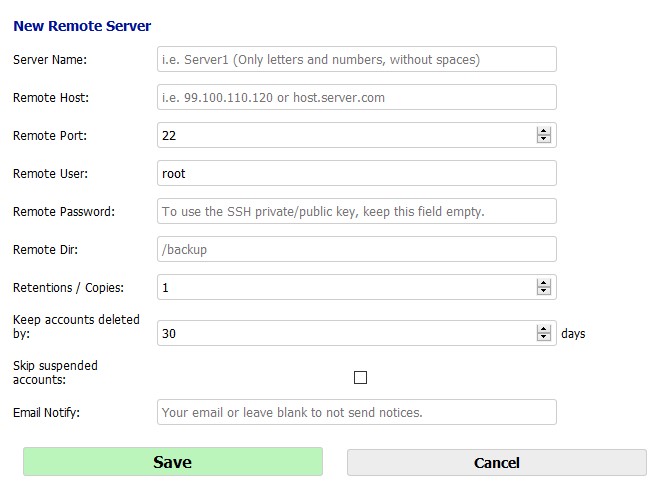
Storage servers
Access to "+ Remote Server"
- Enter an identifying name.
- Enter name or IP address.
- Enter the SSH port.
- Enter remote username.
- Enter remote password. (To use the SSH keys, keep this field empty). You need to have installed the SSHPASS function on the local server to access with password.
- Enter remote directory.
- Enter number of copies that will be retained in the backup.
- Enter Days that accounts will be kept on the remote server that have not been synchronized.
- Select if backups of suspended accounts will be made.
- Enter an optional email address to receive notifications about backups and restores.
- Save the configuration.
Enter SSH Key.
Click on "New Key" to generate a new key.
Copy the generated key and paste it into the authorized_keys file, i.e. "/root/.ssh/authorized_keys", of the remote server.
Return to the previous screen and check that the connection is made correctly.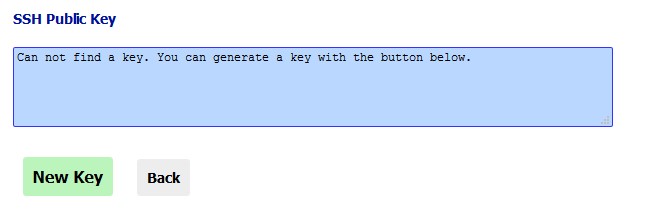
Schedule settings
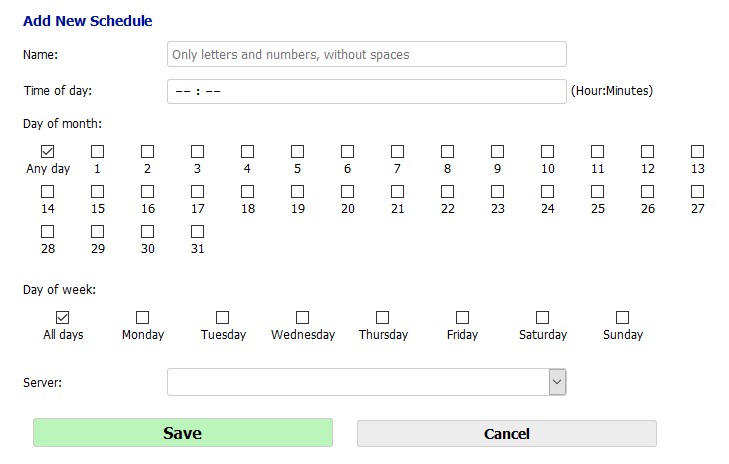
Select the option "Schedule settings"
Complete the program data:
- Enter an identifying name.
- Enter hour and minutes.
- Enter days of the month (For monthly backups) or any.
- Enter days of the week (For weekly backups).
- Select the server.
- Save the configuration.
-
Restore
Restore files
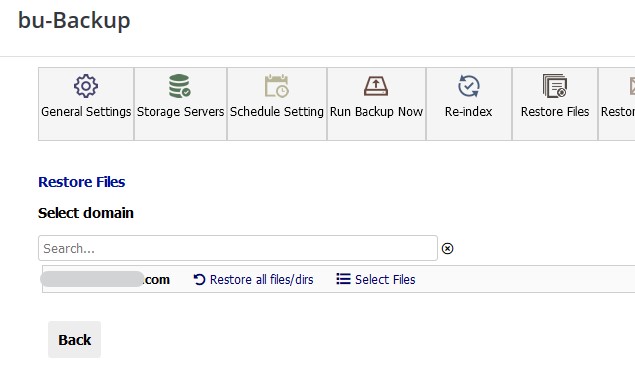
- Go to "Restore Files"
- Select the remote server.
- Select the copy / retention.
- Select "Restore All", for complete restoration of files and directories, or...
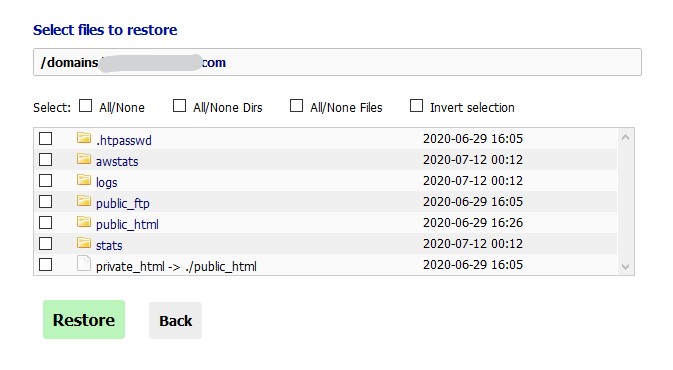
- Go to "Select Files" to select the files or directories you want to restore.
Restore e-mails.
- Go to "Restore e-mails"
- Select the remote server.
- Select the copy / retention.
- Select e-mail account.
- Restore the e-mails of the desired account.
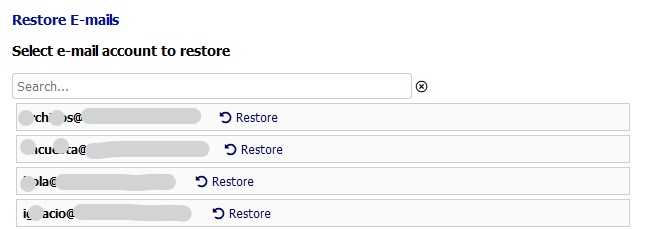
Note. All the boxes, emails and folders of the selected account will be restored. In case there are boxes or emails, those saved in the backup will be added to the existing ones, without eliminating those that do not exist in the backup.
Restore MySQL / MariaDB databases
- Go to "Restore MySQL DB"
- Select the remote server.
- Select the copy / retention.
- Select the account.
- Restore the desired database.
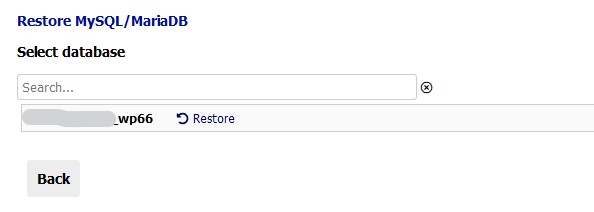
Note. The selected database will be restored to the backup point, replacing all the data. If the database does not exist, it will be created. In this case, you must create and assign the privileges to the corresponding database user.
Restore DB PostgreSQL databases
- Go to "Restore PostgreSQL DB"
- Select the remote server.
- Select the copy / retention.
- Select the account.
- Restore the desired database.
Note. The selected database will be restored to the backup point, replacing all the data. If the database does not exist, it will be created.
Disaster Recovery / Restore full accounts
- Go to "Full Accounts Restore"
- Select the remote server.
- Select the copy / retention.
- Select one or mark multiple accounts to restore.
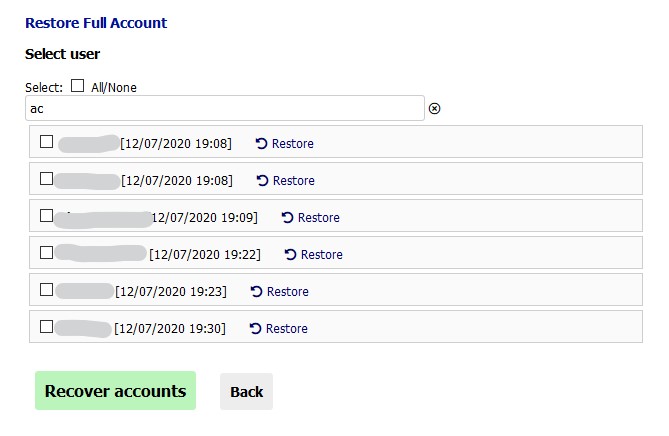
Note. The selected complete account will be restored to the backup point, replacing all the files, databases, email accounts and emails, etc. If the account exists it will be overwritten.
Run backup
You can run a backup at the moment by entering "Run Backup Now", indicating the corresponding remote server.
Re-Indexing
bu-Backup creates a local index of the backed-up elements once each backup is finished.
You can re create the index, for example, if you have made changes to the file structure of the remote server, or if for some reason the index has not been created correctly.